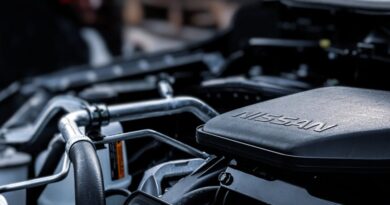
Best Practices for Auto Part Installation
Did you know that improper auto part installation can lead to serious safety risks? According to the National Highway Traffic Safety Administration, faulty parts are a leading cause of accidents. If you’re planning to install auto parts yourself, it’s vital to follow best practices. This guide will help you navigate the process smoothly and safely.
Why is Proper Installation Important?
When you install parts correctly, you ensure your vehicle runs smoothly. Bad installations can lead to poor performance, which often means more expensive repairs down the line. it’s like trying to build a house on a shaky foundationsooner or later, it will crumble.
To put it simply, proper installation:
- Increases safety
- Enhances vehicle performance
- Saves money in the long run
What Tools Do You Need for Installation?

Before diving into the installation process, gather the right tools. Heres a quick list:
- Socket set
- Wrenches
- Screwdrivers
- Torque wrench
- Diagnostic tools (if applicable)
Using the right tools can make your job easier and faster. Just like a chef needs the right kitchen gadgets, you need the appropriate tools to ensure a successful installation.
How to Prepare for Installation?

Preparation is key. Start by reading the installation manual that comes with the part. This manual provides specific instructions tailored to your vehicle and the part involved. it’s like following a recipe; skip a step, and your meal might not turn out right.
Here are some steps to prepare:
- Gather all necessary tools and parts.
- Park your car on a flat surface.
- Make sure you have enough light to see what you’re doing.
- Wear safety gear like gloves and goggles.
What Are the Steps for Safe Installation?
Now that you’re prepared, lets break down the installation process into clear steps.
1. Disconnect the Battery
Safety comes first! Always disconnect the battery before starting any work on your vehicle. This step prevents electrical shocks and protects your car’s electrical system. Simply remove the negative terminal with a wrench.
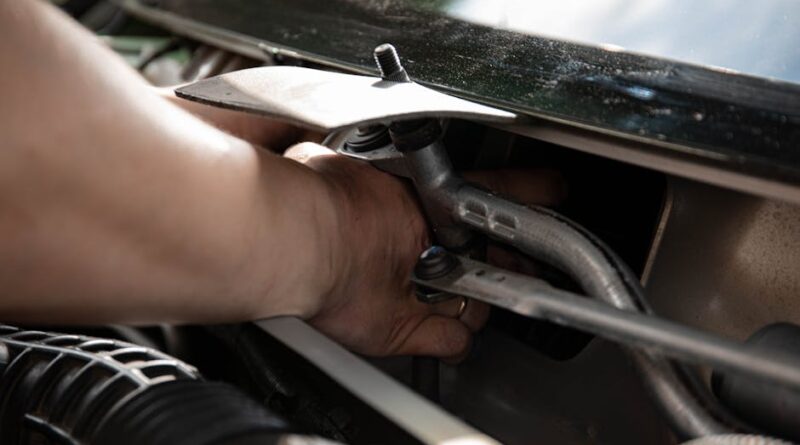
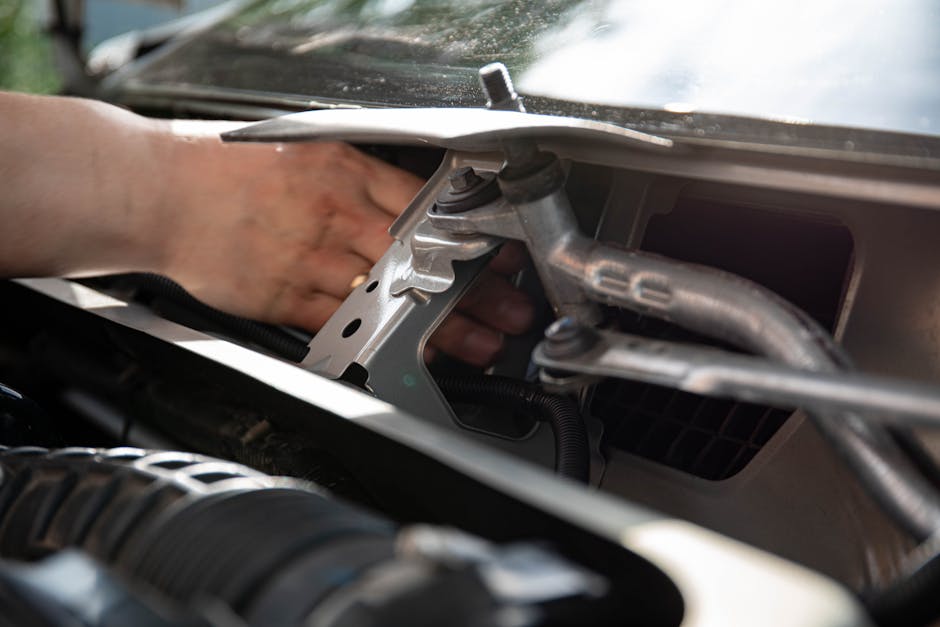
2. Remove the Old Part
Next, take out the old part. Follow these tips:
- Use the right tools for removal.
- Keep track of any screws or bolts.
- Take photos for reference during reinstallation.
3. Install the New Part
Now, it’s time for the new part! Align it according to the manual. Whether you’re replacing brakes or an air filter, ensure everything fits snugly. This step is like putting together a puzzleeverything should fall into place.
4. Reconnect the Battery
Once you’ve installed the new part, reconnect the battery. Make sure the terminal is tight to avoid any issues. it’s a simple yet crucial step.
5. Test Your Work
Finally, start your vehicle. Listen for any unusual sounds and check that everything functions correctly. it’s like taking a new car for a test driveensure it runs as it should.
How to Avoid Common Mistakes?
Even seasoned DIYers make mistakes. Heres how to avoid them:
- don’t rush. Take your time to ensure each step is done correctly.
- Double-check parts compatibility. Ensure the part is designed for your car model.
- Keep your workspace organized. A cluttered area can lead to lost tools or parts.
Remember, it’s better to take your time than to fix mistakes later. Just like in a game, slow and steady often wins.
What to Do After Installation?
Once you’ve successfully installed the new part, take a moment to tidy up. Put away tools and clean any mess. This will help you maintain a safe workspace for future projects.
Additionally, consider the following:
- Keep records of the installation for future reference.
- Regularly check the new part for wear and tear.
- Schedule a follow-up inspection if needed.
When Should You Seek Professional Help?
Sometimes, it’s best to call in the pros. If you’re unsure about any step in the process, don’t hesitate. Professional mechanics have the training and tools to handle tricky parts.
Here are some signs that you may need expert help:
- You don’t have the right tools.
- The installation seems too complicated.
- You lack experience with the specific part.
What Are the Benefits of DIY Installation?
Installing parts yourself can have plenty of benefits:
- Cost savings on labor fees.
- Increased knowledge about your vehicle.
- A sense of accomplishment when you finish.
Plus, it allows for a more personal relationship with your car. Youll know exactly what’s been done and when.
What Resources Can Help You?
There are many resources available to assist you in your installation journey. Websites like AutoZone and Advance Auto Parts offer installation guides and videos. You can also find forums where car enthusiasts share tips and experiences.
For a deeper dive into DIY car repairs, consider checking out Hagerty’s DIY Auto Repair Tips.
What Are the Final Takeaways?
Installing auto parts doesnt have to be daunting. By following these best practices, you can ensure a safe and successful installation. Remember to:
- Use the right tools.
- Prepare adequately before starting.
- Avoid rushing and double-check your work.
- Seek professional help if needed.
In the end, your vehicle will reward you with better performancemaking your driving experience more enjoyable. So roll up your sleeves and get started! Your car will thank you.